


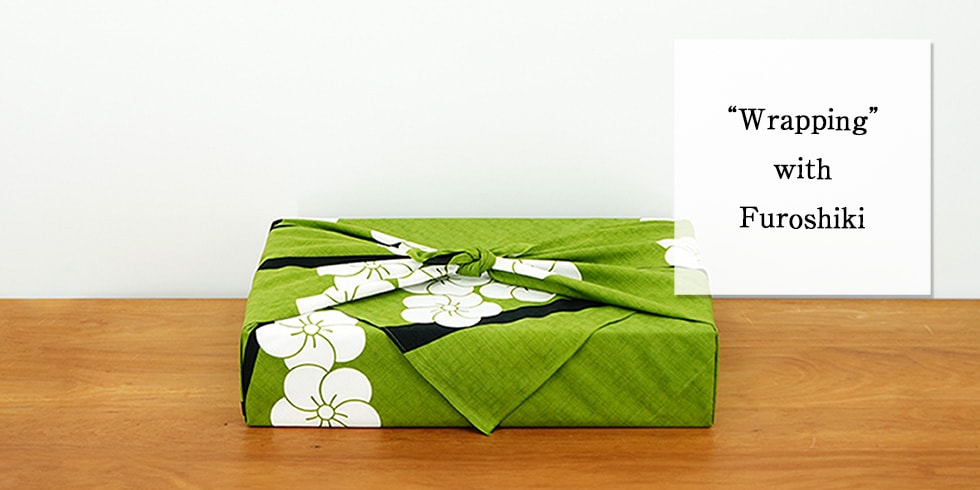

How to“Wrap”with Furoshiki
Furoshiki, with their unique colors and patterns, are ideal for wrapping in a variety of ways. We will give an easy-to-understand lecture on how to wrap using furoshiki with illustrations.
How to Wrap with Furoshiki
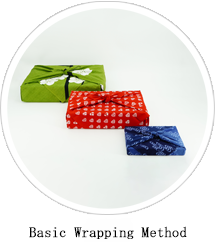
#01.Basic Wrapping Method

- see the flow
-
-
1.

Spread the furoshiki with the back side up and place the item to be wrapped in the center of the diagonal.
-
2.

Cover the item with the front corner.
-
3.

Cover the item with the back corner in the same way and roll the excess down.
-
4.

Lift the left and right corners.
-
5.

Tying a square(reef)knot and you are done.
-
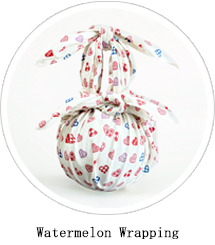
#02.Watermelon Wrapping

Large Furoshiki “Labrymon Color”
- see the flow
-
-
1.

Spread the furoshiki with the back side up and place the item to be wrapped in the center.
-
2.

Tie adjacent corners intoTying a square(reef)knot.
-
3.

Pull the knot in the front through the loop under the knot in the back.。
-
4.

Shape it and it is done.
-
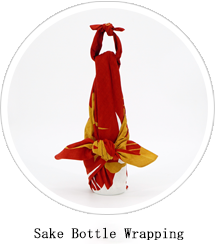
#03.Sake Bottle Wrapping

Large Furoshiki “Celebratory cranes”
- see the flow
-
-
1.

Spread the furoshiki with the back side up and place Sake Bottle in the center.
-
2.

Lift the diagonals up and tie them together once on the lid of the bottle jar to temporarily secure them.
-
3.

Cross the other diagonal at the back of the bottle and bring it to the front while wrapping it around the bottle.
-
4.

Tying a square(reef)knot between the diagonals brought to the front.Make a loop for the handle with the temporarily fastened tip, tying a square(reef)knot,and it is done.
-
Basic Knots
Tying a square(reef)knot
- see the flow
-
-
1.

Hold the tip and cross it over with the right (or left) side in front of you.
-
2.

Tie a knot.
-
3.

Cross them with the left (or right) side in front of you.
-
4.

Tie the knot again.
-
5.

Pull both ends.
-
6.

Shape it and it is done.
-
